If you love cookies and chocolate, you’ll adore these Chocolate Chip Cookie Dough Truffles! They are rich, sweet, and oh-so-satisfying. In this post, I’ll guide you through easy steps to make these treats, from mixing to melting chocolate. Whether you’re a seasoned baker or a beginner, you’ll find helpful tips and variations to suit your taste. Let’s dive into making this sweet delight that will impress everyone!
Why I Love This Recipe
- Decadent Flavor: The rich combination of cookie dough and chocolate creates an irresistible treat that satisfies sweet cravings.
- Easy to Make: This recipe requires minimal ingredients and simple steps, making it perfect for bakers of all skill levels.
- Perfect for Sharing: These truffles are great for parties, gifts, or just enjoying with friends and family.
- Customizable: Feel free to experiment with different types of chocolate or add-ins like nuts or sprinkles to make them your own!
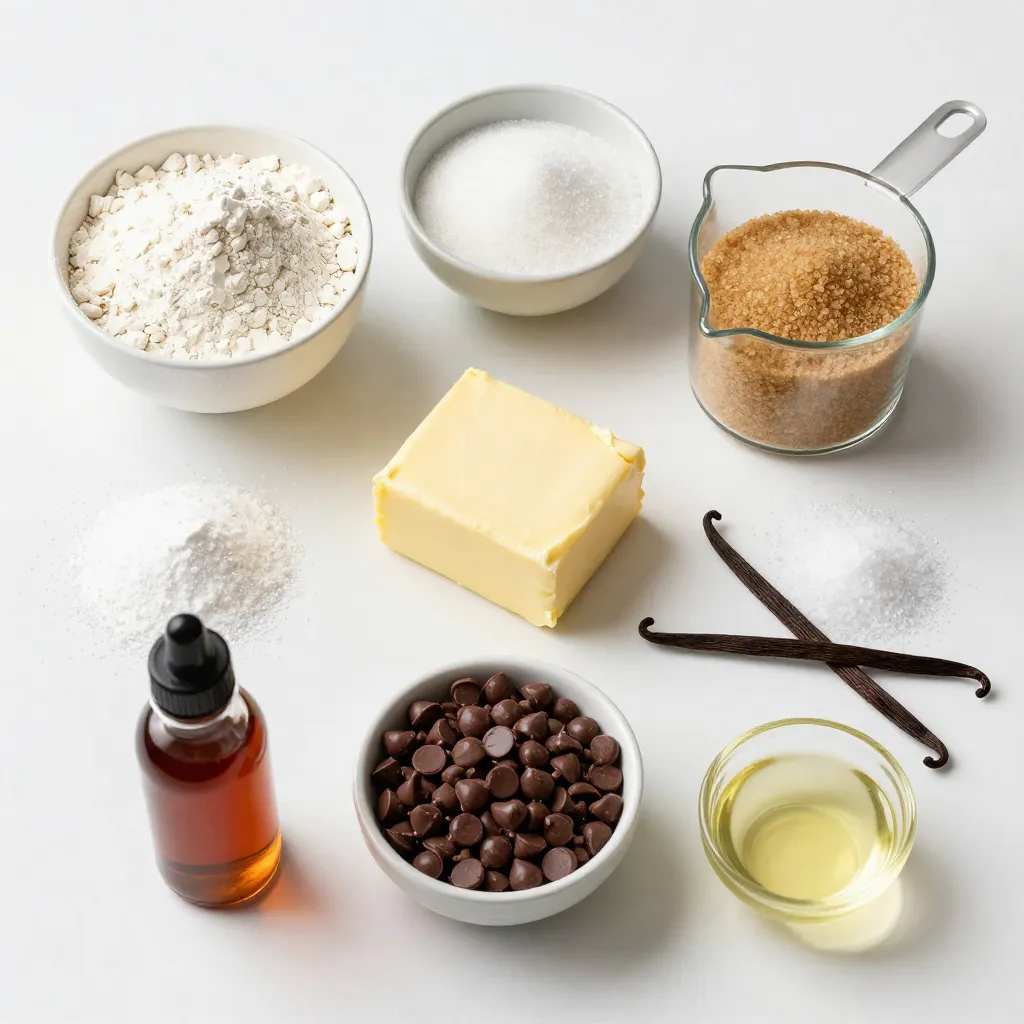
Ingredients
List of Ingredients
– 1 cup all-purpose flour
– 1/2 teaspoon baking soda
– 1/4 teaspoon salt
– 1/2 cup unsalted butter, softened
– 3/4 cup packed brown sugar
– 1/4 cup granulated sugar
– 2 teaspoons vanilla extract
– 1 cup mini chocolate chips
– 1/4 cup milk (adjust as needed)
– 1 cup semisweet chocolate chips, for coating
– 1 tablespoon coconut oil (optional)
Essential Tools Needed
– Mixing bowls
– Electric mixer
– Spatula
– Baking sheet
– Parchment paper
– Microwave-safe bowl
– Fork or dipping tool
Ingredient Substitutions
– Use whole wheat flour for a healthier option.
– Swap unsalted butter with coconut oil for a dairy-free treat.
– Replace mini chocolate chips with chopped nuts for added crunch.
– Use dark chocolate chips for a richer flavor in the coating.
– If you’re out of vanilla, try almond extract for a different taste.
Step-by-Step Instructions
Preparing the Dry Ingredients
To start, gather your ingredients. In a medium bowl, whisk together these items:
– 1 cup all-purpose flour
– 1/2 teaspoon baking soda
– 1/4 teaspoon salt
Make sure they mix well. Set this bowl aside for later.
Creaming the Butter and Sugars
Next, take a large mixing bowl. Add in these ingredients:
– 1/2 cup unsalted butter, softened
– 3/4 cup packed brown sugar
– 1/4 cup granulated sugar
Use an electric mixer on medium speed. Mix until light and fluffy, which takes about 2 to 3 minutes. This step is key for a great texture.
Now, pour in 2 teaspoons of vanilla extract. Mix again until fully blended with the butter and sugars.
Forming and Coating the Truffles
Time to combine the mixtures. Gradually add the dry ingredients to the wet mix. Use a spatula or the mixer on low speed. Don’t overmix; just combine until it’s smooth.
If the dough looks too dry, add 1/4 cup of milk, one tablespoon at a time. You want it soft but moldable.
Now, gently fold in 1 cup of mini chocolate chips. Make sure they are evenly spread in the dough.
For forming, take a tablespoon or cookie scoop. Portion out the dough and roll it into small balls, about 1-inch wide. Place these on a lined baking sheet.
Chill the dough balls in the fridge for 30 minutes. This helps them firm up.
While they chill, melt 1 cup of semisweet chocolate chips in a microwave-safe bowl. You can add 1 tablespoon of coconut oil to make it smoother. Microwave in 30-second bursts, stirring each time until smooth.
Once melted, use a fork to dip each chilled dough ball in the chocolate. Make sure it’s fully coated. Let any extra chocolate drip back into the bowl. Then place them back on the lined sheet.
Chill the coated truffles for another 15-20 minutes. This allows the chocolate to set firm. Enjoy your sweet truffles once the chocolate is firm!
Tips & Tricks
Ensuring Perfect Dough Consistency
To get the right dough, you need to mix well. Start by whisking the dry ingredients. This helps the flour, baking soda, and salt blend evenly. When mixing the butter and sugars, make sure it’s light and fluffy. If your dough feels too dry, add milk slowly. A little at a time helps you find the perfect soft texture. The dough should feel moldable but not sticky.
Best Practices for Melting Chocolate
When melting chocolate, patience is key. Use a microwave-safe bowl to avoid mess. Heat the chocolate in short bursts, about 30 seconds at a time. Stir well between each burst. This helps prevent burning and keeps the chocolate smooth. If you want a shiny finish, add coconut oil. It makes the coating look great and feel nice too.
Tricks for Rolling Uniform Truffles
For even-sized truffles, use a tablespoon or cookie scoop. This ensures each ball is the same size. Roll the dough gently between your hands to shape it. If the dough sticks, slightly dampen your hands to help. Place the formed truffles on parchment paper. Refrigerate them to firm up before dipping. This step makes coating easier and cleaner.
Pro Tips
- Chill the Dough: Refrigerating the dough before rolling it into balls helps to firm it up, making it easier to shape and coat.
- Use High-Quality Chocolate: For the best flavor, opt for high-quality semisweet chocolate chips for coating your truffles.
- Experiment with Flavors: Try adding a pinch of sea salt or a splash of espresso powder to the dough for a unique flavor twist.
- Keep Coating Warm: If the chocolate starts to harden while dipping, gently reheat it in the microwave in short intervals to keep it smooth.
Variations
Flavor Variations
You can change the flavor of your truffles to keep things fun. Here are a few ideas:
– Nutty: Add chopped nuts, like walnuts or pecans, to the dough.
– Minty: Mix in mint extract for a fresh taste.
– Spiced: Add a pinch of cinnamon or nutmeg for warmth.
These small changes can create a whole new treat!
Coating Options
The chocolate coating is key to your truffles. Here are some options:
– White Chocolate: This adds a sweet and creamy layer.
– Dark Chocolate: For a richer flavor, use dark chocolate chips.
– Sprinkles: Roll the truffles in colorful sprinkles for a fun touch.
Experiment with these coatings to find your favorite!
Healthier Versions
You can make these truffles a bit healthier too. Try these tips:
– Reduced Sugar: Cut back on the sugars in the dough.
– Gluten-Free: Use gluten-free flour instead of all-purpose flour.
– Nut Butter: Swap some butter for almond or peanut butter for added protein.
These tweaks can make your treats a little lighter while still being delicious!
Storage Info
How to Store Cookie Dough Truffles
To keep your cookie dough truffles fresh, place them in an airtight container. You can stack them gently to save space. I recommend separating layers with parchment paper. This method helps prevent them from sticking together. Store the container in the fridge for best taste and texture.
Freezing Instructions
If you want to save some truffles for later, freezing is a great option. First, let the truffles cool completely. Then, place them in a single layer on a baking sheet. Freeze them for about an hour until solid. After that, transfer them to a freezer-safe bag. Be sure to remove as much air as possible. They can last up to three months in the freezer.
Shelf Life
When stored properly in the fridge, your cookie dough truffles can last about one week. If you freeze them, they will stay fresh for three months. Just remember to label the container with the date. This way, you can enjoy your sweet treat at its best!
FAQs
Can I eat the cookie dough raw?
Yes, you can eat the cookie dough raw. However, it is important to note that raw flour can carry bacteria. To make it safer, heat the flour first. Spread it on a baking sheet and bake at 350°F for about five minutes. Let it cool before using it in your dough. This step helps kill any bacteria and makes the dough safer to eat.
What is the best way to melt chocolate?
The best way to melt chocolate is in the microwave. Place your chocolate chips in a microwave-safe bowl. Heat them in 30-second bursts. After each burst, stir the chocolate well. This method helps prevent burning. You can also use a double boiler on the stove. Just place a bowl over simmering water. Stir until melted. Both methods work well to get smooth chocolate for coating.
How long do these truffles last?
These truffles can last up to one week in the fridge. Store them in an airtight container. If you want them to last longer, you can freeze them. Just place them in a freezer-safe container. They can stay fresh for up to three months in the freezer. When you’re ready to eat them, thaw in the fridge overnight. Enjoy these sweet delights!
Making cookie dough truffles is fun and simple. You learned about the key ingredients, tools, and how to substitute if needed. I shared clear steps for mixing and rolling the dough. Tips helped ensure your truffles have the right texture. You also discovered tasty variations and how to store them properly.
Remember, these truffles are versatile. Enjoy experimenting with flavors and coatings. Follow these tips, and you will impress everyone with your homemade treat