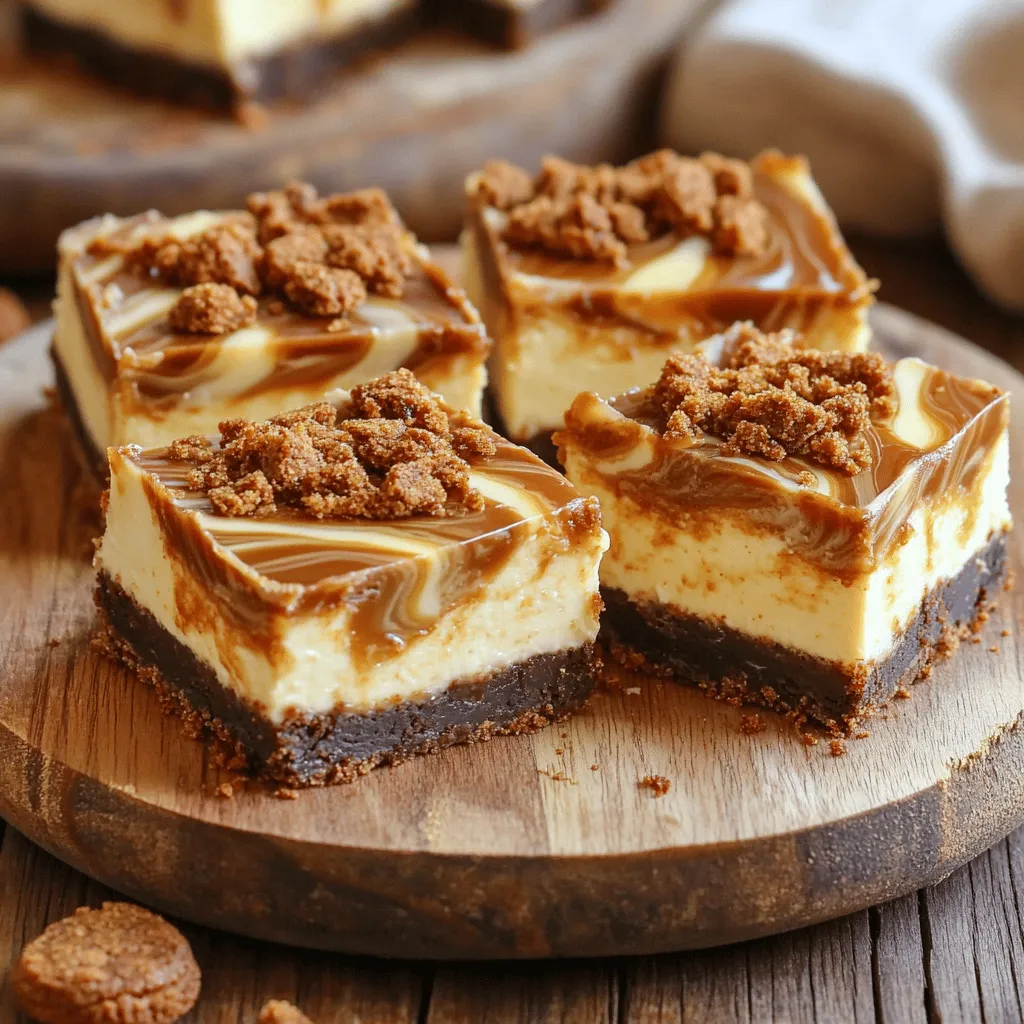
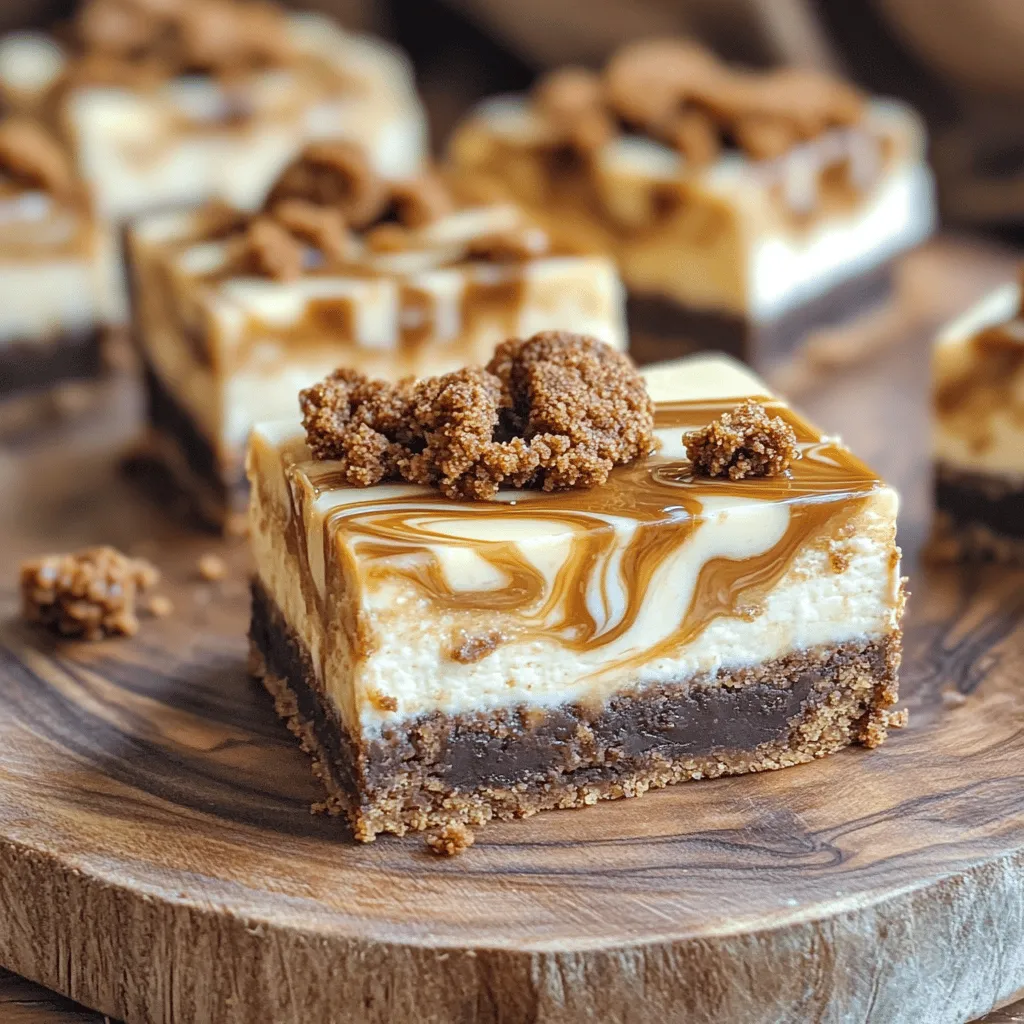
Get ready to treat yourself with these No-Bake Biscoff Cheesecake Brownie Bars! This recipe combines a rich brownie base with creamy, dreamy Biscoff cheesecake. You don’t need an oven, just mix and chill. Whether you want a sweet snack or a showstopper dessert, these bars are perfect. I’ll guide you through each step, sharing tips and tricks to create bars that wow. Let’s dive into this delicious adventure!
Ingredients
Complete List of Ingredients
To make No-Bake Biscoff Cheesecake Brownie Bars, gather these items:
– 1 cup Biscoff cookies, crushed finely
– ½ cup unsalted butter, melted and slightly cooled
– 1 cup cream cheese, softened to room temperature
– ½ cup powdered sugar, sifted
– 1 cup heavy whipping cream, chilled
– 1 teaspoon pure vanilla extract
– ½ cup Biscoff spread, plus extra for drizzling
– A pinch of salt to enhance flavor
– Extra Biscoff cookies for an irresistible topping
Ingredient Substitutions
You can swap some ingredients if needed. For a lighter option, use low-fat cream cheese. If you want a dairy-free version, try vegan cream cheese and coconut cream. For the crust, any similar cookie works. Graham crackers or Oreos can work well in place of Biscoff cookies.
Tips for Choosing Quality Ingredients
Choose fresh ingredients for the best flavor. Look for creamy, smooth cream cheese. Check the heavy cream for freshness; it should whip up nicely. Aim for high-quality Biscoff cookies for that sweet, spiced taste. Always sift the powdered sugar to avoid lumps. When selecting Biscoff spread, look for a smooth texture for easy mixing.
Step-by-Step Instructions
Detailed Preparation Process
To make these no-bake Biscoff cheesecake brownie bars, start with the crust. Take 1 cup of finely crushed Biscoff cookies and mix them with ½ cup of melted butter. Stir until the crumbs are evenly coated. Next, press this mixture firmly into the bottom of an 8×8-inch baking pan. Use a measuring cup or your fingers for a compact layer.
Now, for the cheesecake filling, beat 1 cup of softened cream cheese in a bowl until smooth. Gradually add ½ cup of sifted powdered sugar and 1 teaspoon of vanilla extract while mixing. In another clean bowl, whip 1 cup of chilled heavy cream until stiff peaks form. Gently fold this whipped cream into the cream cheese mixture.
Swirl in ½ cup of Biscoff spread carefully, creating a marbled effect. Pour this creamy filling over the crust in the pan, spreading it evenly. Crush additional Biscoff cookies and sprinkle them on top for crunch. Cover the pan with plastic wrap and refrigerate for 4-6 hours until set.
Tips for Ensuring Perfect Layers
To get great layers, be sure to pack the crust tightly. This helps prevent it from crumbling. When mixing the cream cheese, make sure it’s at room temperature. Cold cream cheese can lead to lumps. When you fold in the whipped cream, use a gentle hand. This keeps the mixture airy and light.
For the top layer, sprinkle the crushed cookies evenly. This adds texture and looks nice. If you want to drizzle extra Biscoff spread, do it right before serving. This makes your bars look fancy and delicious.
Common Mistakes to Avoid
One mistake is not letting the cheesecake set long enough. If you cut the bars too soon, they may fall apart. Another common error is overmixing the cheesecake batter. This can make it dense instead of light.
Do not skip chilling the whipped cream. If it’s not cold, it won’t whip well. Also, always use a clean bowl for whipping cream. This prevents any fat from other ingredients from affecting the texture. Following these tips helps you create the best no-bake Biscoff cheesecake brownie bars.
Tips & Tricks
How to Achieve the Best Texture
To get a smooth and creamy cheesecake, start with room-temperature cream cheese. This helps it blend well. Make sure to whip the heavy cream until stiff peaks form. This adds air and lightness. When folding the whipped cream into the cream cheese mixture, do it gently. You want to keep the airy texture. Be careful not to overmix. A marbled look with Biscoff spread adds fun and flavor.
Decorating Ideas for Presentation
Presentation is key with these brownie bars. After slicing, arrange them on a pretty platter. Drizzle extra Biscoff spread on top for a rich look. You can also crush some Biscoff cookies and sprinkle them over the bars. This adds texture and color. For a final touch, serve whole Biscoff cookies on the side. This makes each plate look inviting and tasty.
Serving Suggestions
These bars are best served chilled. They make a great dessert for any occasion. You can enjoy them after dinner or at parties. For an extra treat, pair them with a scoop of vanilla ice cream. A hot cup of coffee also complements these sweet bars well. They are sure to impress your guests and make them smile!
Variations
Flavor Modifications
You can change the flavor of these bars easily. For a chocolate twist, use chocolate sandwich cookies instead of Biscoff cookies. This gives the crust a rich cocoa flavor. Try adding mint extract for a fresh taste. You can also mix in lemon zest for a bright, citrusy note. These small changes can make a big difference.
Dietary Considerations (Gluten-Free, Vegan, etc.)
To make these bars gluten-free, use gluten-free Biscoff cookies. Many brands offer gluten-free options that taste just as good. For a vegan version, swap the cream cheese for a plant-based cream cheese. Use coconut cream in place of heavy whipping cream, and make sure to choose a dairy-free butter. These swaps keep the flavors intact while catering to dietary needs.
Creative Add-ins
Get creative with add-ins for extra flavor. You can fold in chopped nuts, like walnuts or pecans, for crunch. Try adding mini chocolate chips for a sweet surprise in every bite. Swirling in some peanut butter or Nutella can give a nutty flavor that pairs well with Biscoff. The options are endless, so feel free to mix and match according to your taste.
Storage Info
Best Practices for Refrigeration
To keep your no-bake Biscoff cheesecake brownie bars fresh, store them in the fridge. Use an airtight container to seal in moisture and flavor. I recommend placing parchment paper between layers if stacking. This prevents sticking and keeps the bars looking good. Make sure the bars chill for at least 4-6 hours before serving. This time helps them set perfectly.
Freezing Instructions
If you want to save some bars for later, freezing works well. First, cut the bars into squares. Wrap each piece tightly in plastic wrap. Then, place them in a freezer-safe container or bag. This helps prevent freezer burn. You can freeze them for up to three months. To eat, let them thaw in the fridge overnight.
Shelf Life
When stored properly, these bars last about a week in the fridge. Keep an eye on them for any changes in texture or smell. If they look or smell off, it’s best to toss them. Enjoy them fresh for the best taste!
FAQs
Can I make these bars in advance?
Yes, you can make these bars ahead of time. They taste better after chilling. I suggest making them the day before. This way, the cheesecake sets well and flavors meld together.
How do I store leftover bars?
Store leftover bars in the fridge. Use an airtight container to keep them fresh. They will stay good for about four days. If you want to keep them longer, wrap them tightly in plastic wrap.
What can I use instead of Biscoff cookies?
You can use graham crackers or Oreos as a substitute. Both will give you a tasty crust. Just crush them finely, like you do with Biscoff cookies.
Is it possible to use other types of spread?
Yes, you can try other spreads like Nutella or peanut butter. They will change the flavor, but the bars will still be delicious. Just choose a spread that you enjoy!
How do I know when the cheesecake is set?
The cheesecake is set when it feels firm to the touch. It should not jiggle when you gently shake the pan. After chilling for 4-6 hours, it will be ready to slice and serve.
In this post, we covered essential ingredients, preparation steps, and decorating tips for your cheesecake bars. You learned to choose quality ingredients, avoid common mistakes, and discover variations like gluten-free options. Remember to store your bars correctly to maintain freshness.
With these insights, you can create delicious and visually appealing cheesecake bars every time. Enjoy experimenting in the kitchen, and share your tasty results!