Are you ready to indulge in the ultimate fall treat? These Pumpkin Cheesecake Brownies are both decadent and easy to make. With a rich brownie base and creamy pumpkin cheesecake swirl, they bring together two beloved desserts in one bite. Whether you’re prepping for a cozy gathering or just want a sweet pick-me-up, this recipe is a must-try. Let’s dive into the ingredients and get baking!
Why I Love This Recipe
- Seasonal Delight: This recipe captures the essence of fall with its rich pumpkin flavor and warm spices, making it perfect for cozy gatherings.
- Decadent Layers: The combination of fudgy brownies, creamy pumpkin, and rich cream cheese creates a deliciously indulgent treat that satisfies every sweet tooth.
- Easy to Make: With straightforward steps and simple ingredients, this recipe is approachable for bakers of all skill levels, ensuring success every time.
- Impressive Presentation: The marbled effect not only looks stunning but also makes this dessert a showstopper at any potluck or holiday celebration.
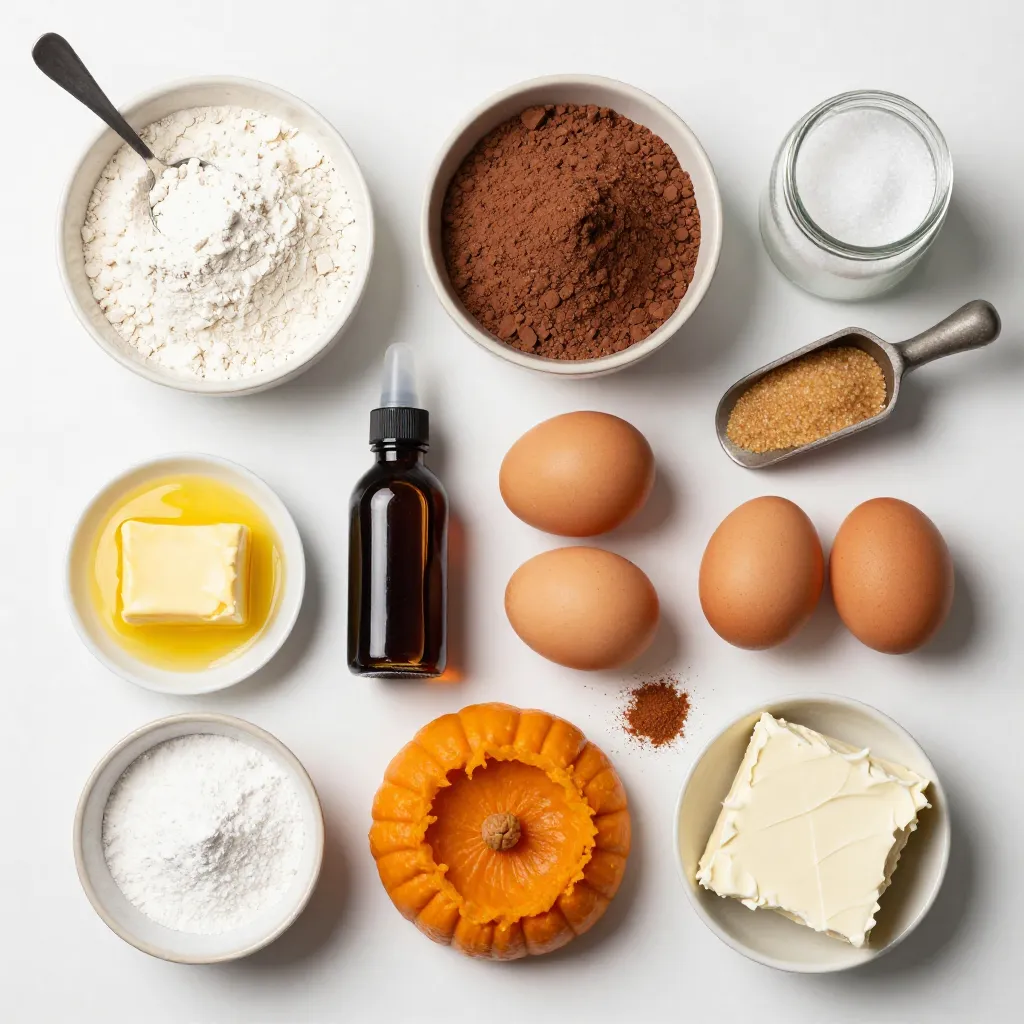
Ingredients
Essential Ingredients for Pumpkin Cheesecake Brownies
To make these tasty brownies, you need some key ingredients. Here’s the list:
– 1 cup unsweetened cocoa powder
– 1 cup all-purpose flour
– 1/2 teaspoon baking powder
– 1/2 teaspoon salt
– 1 cup granulated sugar
– 1/2 cup packed brown sugar
– 1/2 cup unsalted butter, melted
– 3 large eggs
– 1 teaspoon vanilla extract
– 1 cup pumpkin puree
– 1 teaspoon pumpkin pie spice
– 8 oz cream cheese, softened
– 1/4 cup powdered sugar
– 1 egg (for cream cheese filling)
– 1 teaspoon vanilla extract (for cream cheese filling)
These ingredients come together to create rich, creamy layers that burst with flavor.
Optional Ingredients for Customization
You can add a few extras to make your brownies unique. Here are some ideas:
– Chocolate chips for extra chocolatey goodness
– Nuts like walnuts or pecans for crunch
– A sprinkle of sea salt on top to enhance flavor
Feel free to mix and match based on your taste!
Ingredient Substitutions
If you need to swap ingredients, here are some options:
– Use coconut oil instead of unsalted butter for a dairy-free version.
– Replace all-purpose flour with almond flour for a gluten-free option.
– Substitute Greek yogurt for cream cheese to lower fat content.
These swaps can help you adapt the recipe to fit your dietary needs without losing flavor.
Step-by-Step Instructions
Preparing the Oven and Baking Pan
Start by preheating your oven to 350°F (175°C). This step is key for even baking. Next, take a 9×9 inch baking pan. Lightly grease it or line it with parchment paper. If you use parchment, let some hang over the edges. This makes it easy to lift the brownies out later.
Mixing Dry Ingredients
In a medium bowl, whisk together the dry ingredients. Combine 1 cup of unsweetened cocoa powder, 1 cup of all-purpose flour, 1/2 teaspoon of baking powder, and 1/2 teaspoon of salt. Make sure to mix it well, then set it aside. This mixture will help create a rich brownie base.
Combining Sugars and Butter
Grab a large mixing bowl. Add 1 cup of granulated sugar, 1/2 cup of packed brown sugar, and 1/2 cup of melted butter. Mix these ingredients until everything is smooth. You want a nice creamy texture without lumps. This step adds sweetness and richness to your brownies.
Incorporating Eggs and Vanilla
Now, add in 3 large eggs and 1 teaspoon of vanilla extract. Whisk this mixture until it is fully combined and smooth. The eggs help bind everything together. The vanilla adds a lovely flavor that enhances your brownies.
Blending Dry and Wet Mixtures
Slowly add the dry mixture to the wet ingredients. Stir gently until you see no more flour streaks. Be careful not to overmix. This keeps your brownies soft and tender. You want a smooth batter, but lumps are okay.
Preparing the Pumpkin Mixture
In a separate bowl, mix 1 cup of pumpkin puree, 1 teaspoon of pumpkin pie spice, and 1 egg. Stir until the mixture is creamy and smooth. This pumpkin layer adds a wonderful flavor and moisture to the brownies. Set it aside for later.
Making the Cream Cheese Filling
In another bowl, beat 8 oz of softened cream cheese until creamy. Gradually add 1/4 cup of powdered sugar and 1 teaspoon of vanilla extract. Mix until this filling is smooth and free of lumps. This creamy layer will add richness to your brownies.
Layering the Brownie Batter
Pour half of the brownie batter into your prepared pan. Spread it evenly across the bottom. This first layer gives you a base for the pumpkin and cream cheese. Make sure it covers the pan well.
Baking and Cooling
Now, dollop spoonfuls of the pumpkin mixture over the brownie batter. Use a knife or skewer to swirl it gently, creating a marbled effect. Next, spoon the cream cheese mixture over the pumpkin layer. You can create more swirls here if you like. Carefully pour the remaining brownie batter on top. Give it one last gentle swirl for a nice finish.
Place the pan in the oven and bake for 40-45 minutes. To check for doneness, insert a toothpick into the center. It should come out with moist crumbs, not wet batter. Once baked, remove the brownies from the oven and let them cool completely in the pan on a wire rack. When cool, lift them out using the parchment paper and cut into squares. Enjoy these delicious treats!
Tips & Tricks
How to Achieve the Perfect Swirl
To get that beautiful swirl, work gently. After layering the pumpkin mixture, use a knife or skewer. Start at one edge and swirl lightly. Don’t mix too much; you want to see both colors. A nice marbling adds charm to your brownies.
Baking Tips for Moist Brownies
Moist brownies are key. Don’t overmix your batter. Mix just until you see no flour streaks. During baking, check for doneness with a toothpick. It should come out with moist crumbs. If you bake too long, brownies may dry out. Keep an eye on the time to ensure perfect results.
Cooling Tips for Easy Cutting
Let your brownies cool completely before cutting them. This allows them to set properly. Use parchment paper to lift them out easily. Place the brownies on a wire rack to cool. Once cool, cut with a sharp knife for clean edges. A little patience here pays off with better slices!
Pro Tips
- Use Room Temperature Ingredients: Ensure your cream cheese and eggs are at room temperature for a smoother filling and better incorporation into the batter.
- Don’t Overmix the Batter: Mix the brownie batter just until the ingredients are combined to avoid tough brownies. Overmixing can lead to a dense texture.
- Swirl with Care: When creating the marble effect, use a gentle hand to avoid mixing the layers too much; you want to maintain distinct layers for visual appeal.
- Cool Completely Before Cutting: Allow the brownies to cool completely in the pan before lifting them out and cutting. This helps them set and prevents crumbling.
Variations
Adding Chocolate Chips
You can make these brownies even better by adding chocolate chips. Use semi-sweet or dark chocolate chips for a rich taste. Stir in about 1 cup of chips into the brownie batter before layering. This extra chocolate will melt during baking, making every bite even more delicious.
Gluten-Free Option
If you want a gluten-free version, swap the all-purpose flour for a gluten-free blend. Check the blend for a good mix of flours and starches. You may also want to add a little xanthan gum if your blend does not include it. This helps to keep the brownies nice and chewy.
Vegan Alternative
To create a vegan version, replace eggs with flax eggs. Mix 1 tablespoon of ground flaxseed with 2.5 tablespoons of water for each egg. Let it sit until it thickens. Also, switch the butter for coconut oil or a vegan butter. For the cream cheese filling, use a vegan cream cheese alternative. These swaps will keep the flavors rich and the texture smooth.
Storage Info
Best Practices for Storing Leftovers
To keep your pumpkin cheesecake brownies fresh, store them in an airtight container. Place parchment paper between layers to prevent sticking. They stay good for about 3 to 5 days at room temperature. If it’s warm, refrigerate them. The chill can enhance their flavor and texture.
Freezing Pumpkin Cheesecake Brownies
You can freeze these brownies for up to 3 months. First, let them cool completely. Cut the brownies into squares. Wrap each square in plastic wrap and place them in a freezer-safe bag. Label the bag with the date. When you want a treat, take one out and enjoy!
Reheating Instructions
To reheat, remove the brownie from any wrapping. Place it on a microwave-safe plate. Heat it for about 10-15 seconds. Check to see if it’s warm enough. If you like it warmer, heat in 5-second bursts. This way, the brownie stays soft and delicious!
FAQs
How long do pumpkin cheesecake brownies last?
Pumpkin cheesecake brownies stay fresh for about a week. Store them in an airtight container. If you want them to last longer, refrigerate them. This helps keep them moist and tasty.
Can I use fresh pumpkin puree?
Yes, you can use fresh pumpkin puree. Just make sure to cook and blend the pumpkin until smooth. This gives your brownies a fresh taste. It might be a little wetter than canned puree, so adjust the cooking time if needed.
What to serve with pumpkin cheesecake brownies?
These brownies shine on their own, but you can pair them with a few extras. A scoop of vanilla ice cream works well. Whipped cream adds a light touch. You can also serve them with a drizzle of caramel sauce for added sweetness.
How can I make these brownies more pumpkin-flavored?
To boost the pumpkin flavor, add more pumpkin puree. You can also increase the pumpkin pie spice a bit. Try mixing in some cinnamon or nutmeg for extra warmth. These small changes make a big difference!
What can I substitute for cream cheese?
If you need a substitute for cream cheese, use Greek yogurt or mascarpone cheese. They provide a similar creamy texture. For a dairy-free option, try blended silken tofu. It gives a smooth finish and works well in desserts.
You learned about making pumpkin cheesecake brownies, from ingredients to storage tips. You can customize your brownies with optional ingredients and substitutions. Follow the steps carefully for the best results. Use my baking tips to achieve moist brownies and perfect swirls. Remember, these treats can be stored and even frozen for later. Don’t hesitate to experiment with variations like adding chocolate chips or making them vegan. Enjoy your baking journey and delight in these delicious brownie